
Residential Service
Tile Installation in the Twin Cities
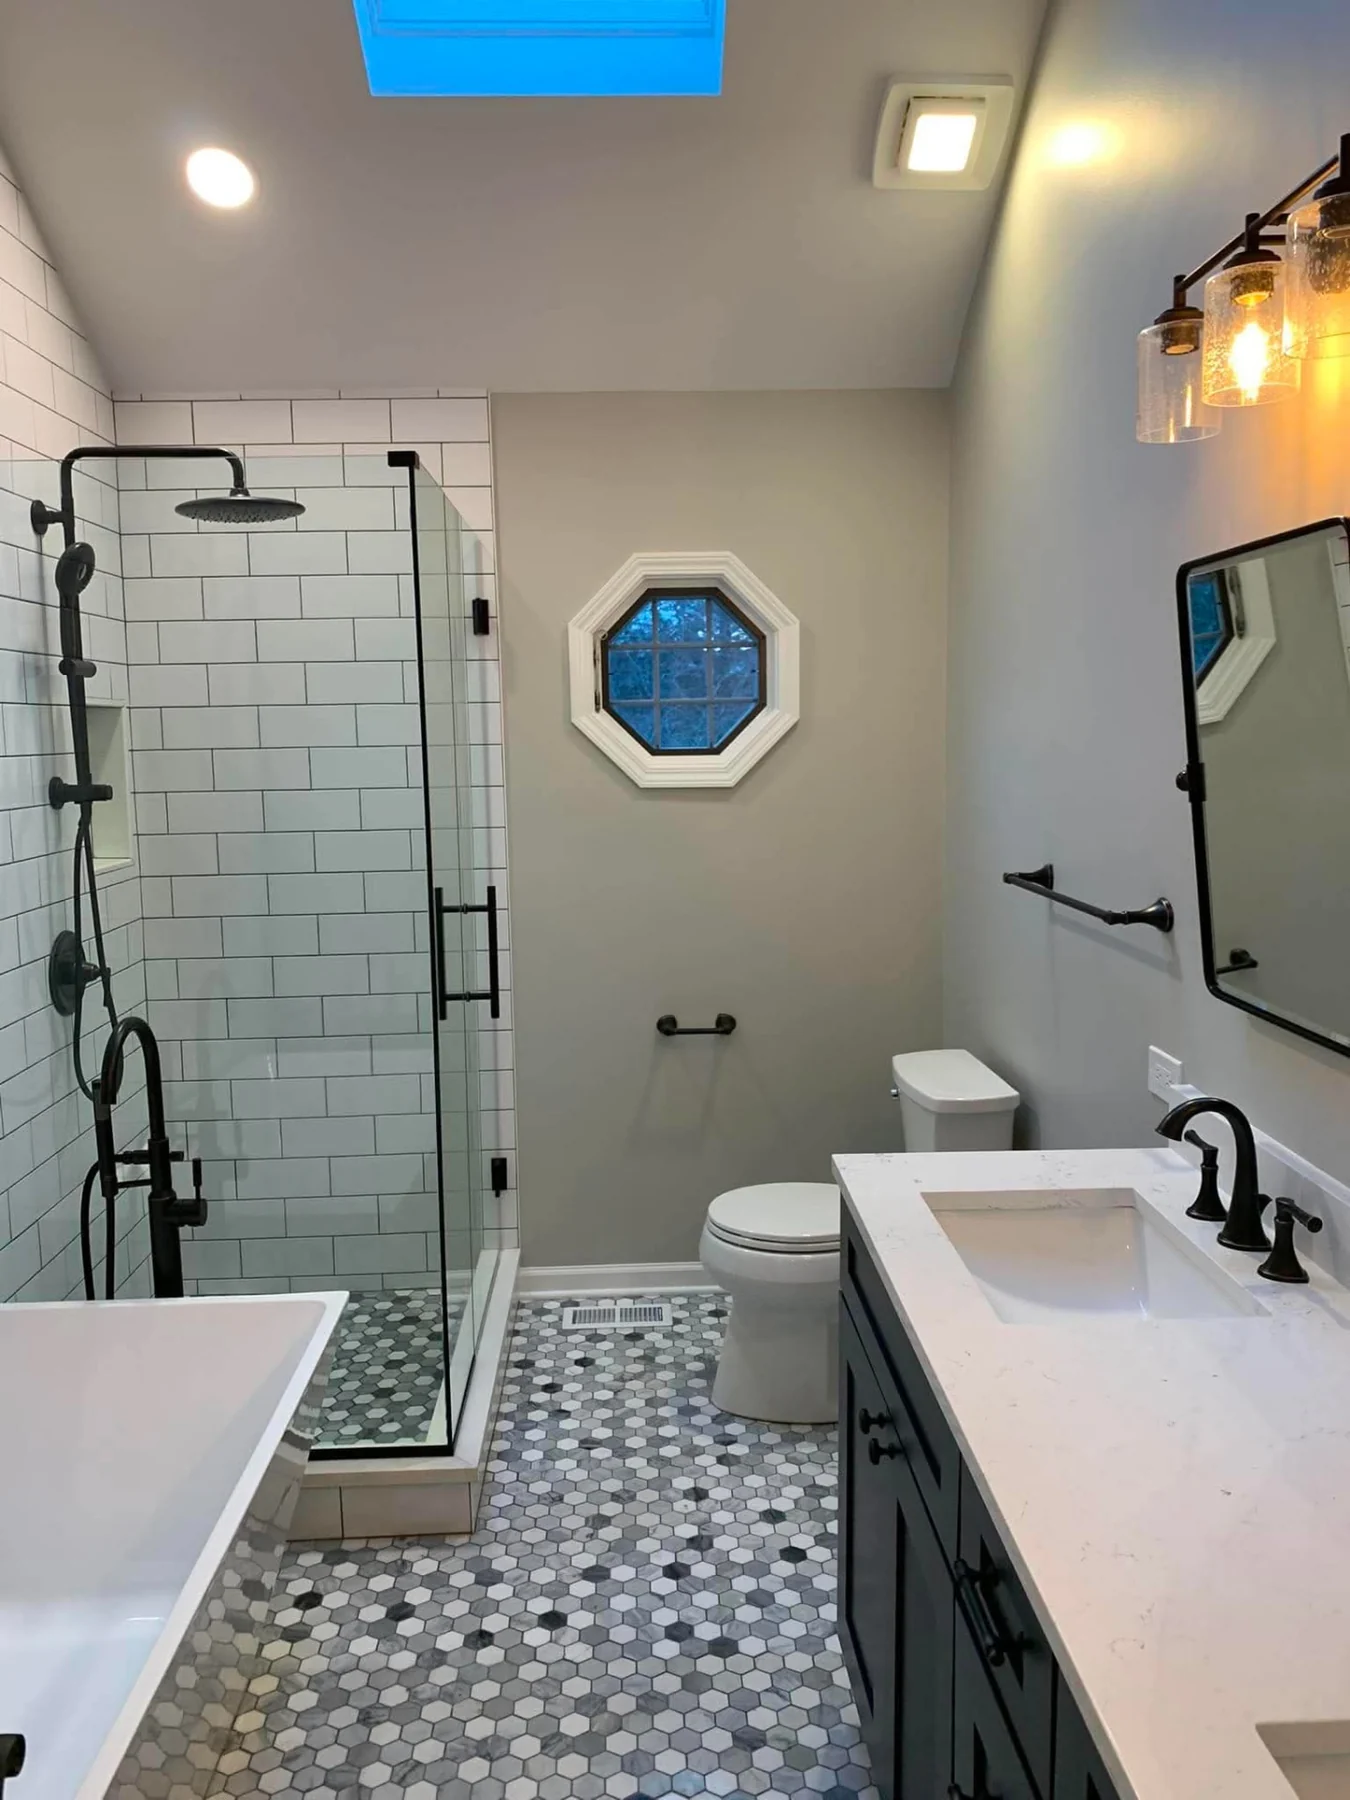
Waterproofed showers, level backsplashes and porcelain floors set with the layout planned before the first cut is made.
Overview
Tile fails at the waterproofing, not the tile
Cracked grout and leaking showers are almost never a tile problem. They are a waterproofing and movement-joint problem. We build wet areas to a tested waterproofing membrane system rather than a painted-on liquid membrane over bare drywall, and we slope mortar beds to the drain before a single tile is set.
Layout gets the same attention as waterproofing. We dry-lay large-format tile and dial in grout lines, niche placement and pattern direction so cuts land where they are least visible, not wherever the math happens to work out.
Waterproofing first
Tested membrane systems, properly sloped mortar beds and pre-formed niches and curbs behind every wet-area tile.
Movement joints placed correctly
Soft joints at changes of plane and every 20 to 25 feet on large floors so tile doesn't tent or crack.
Layout planned before cutting
Dry-laid patterns and centered grout lines so the finished field reads intentional, not improvised.
Project Types
Tile projects we take on
From a single backsplash to a full shower rebuild.
Waterproof shower systems
Full shower rebuilds with sloped pans, sheet or liquid waterproofing membranes, linear or center drains and niche detailing.
Bathroom floor and wall tile
Porcelain, natural stone and mosaic set with proper substrate preparation and heated-floor integration where wanted.
Kitchen backsplashes
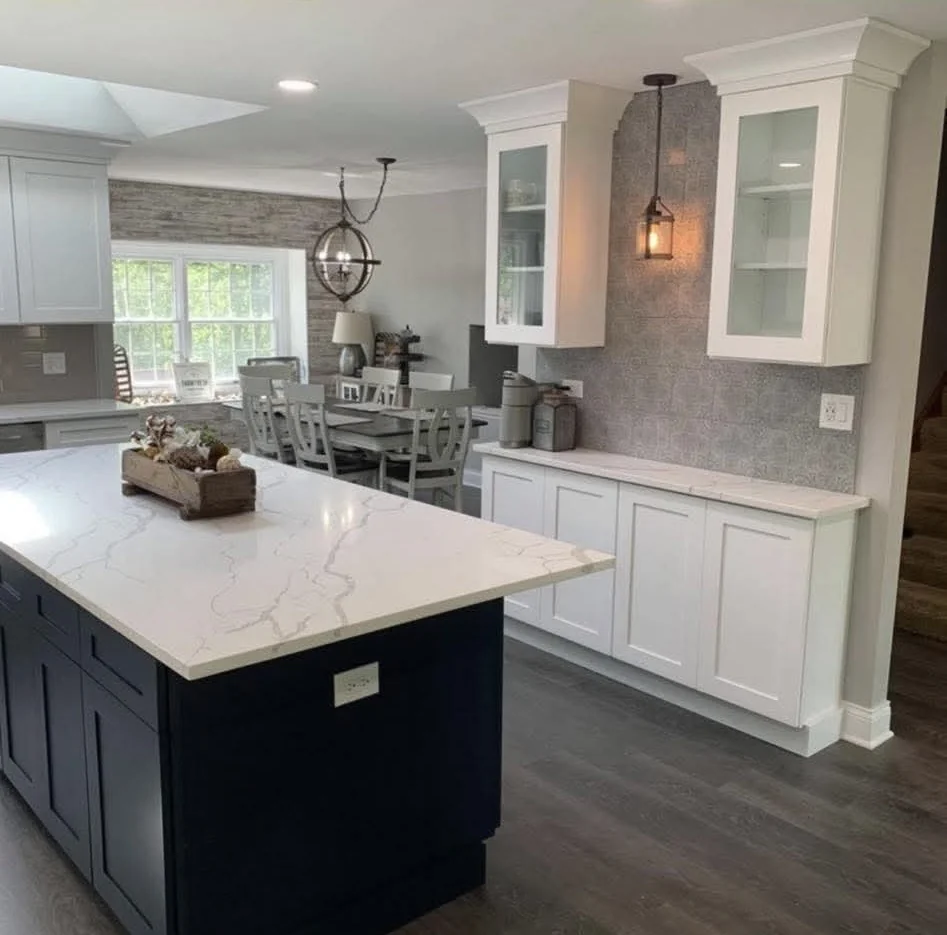
Handmade zellige, subway and slab tile set level and true against cabinetry and counters.
Large-format porcelain floors
Slabs and planks up to large sizes, set with back-buttering and full mortar coverage to prevent hollow spots.
Fireplace surrounds
Heat-rated tile and stone set to code clearances with clean, mitered edges.
Mudroom and entry tile
Durable, slip-resistant tile set to handle Minnesota boots, salt and snow melt.
Materials
Materials and finishes
We specify tile assemblies for what happens behind the surface, not just the finish coat.
- Porcelain and ceramic tile
- Large-format slabs, planks and classic field tile from manufacturers with documented flatness and slip-resistance ratings.
- Natural stone
- Marble, travertine and slate, sealed appropriately for wet-area or dry-area use.
- Waterproofing membranes
- Sheet and liquid-applied systems tested for shower and steam-shower assemblies, with pre-formed corners and drains.
- Mortar and grout
- Large-format-rated thinset and stain-resistant, colored grout selected for the specific tile porosity.
- Movement and expansion joints
- Soft sealant joints at perimeters, inside corners and changes of plane per industry guidelines.
- Heated floor systems
- Electric radiant mats integrated under tile floors with dedicated thermostats.
Design Inspiration
Tile inspiration
Reference imagery for layout, scale and grout detailing. These are inspiration images, not completed client projects.
- Sample Image — Design Inspiration
Large-format shower tile with a linear drain 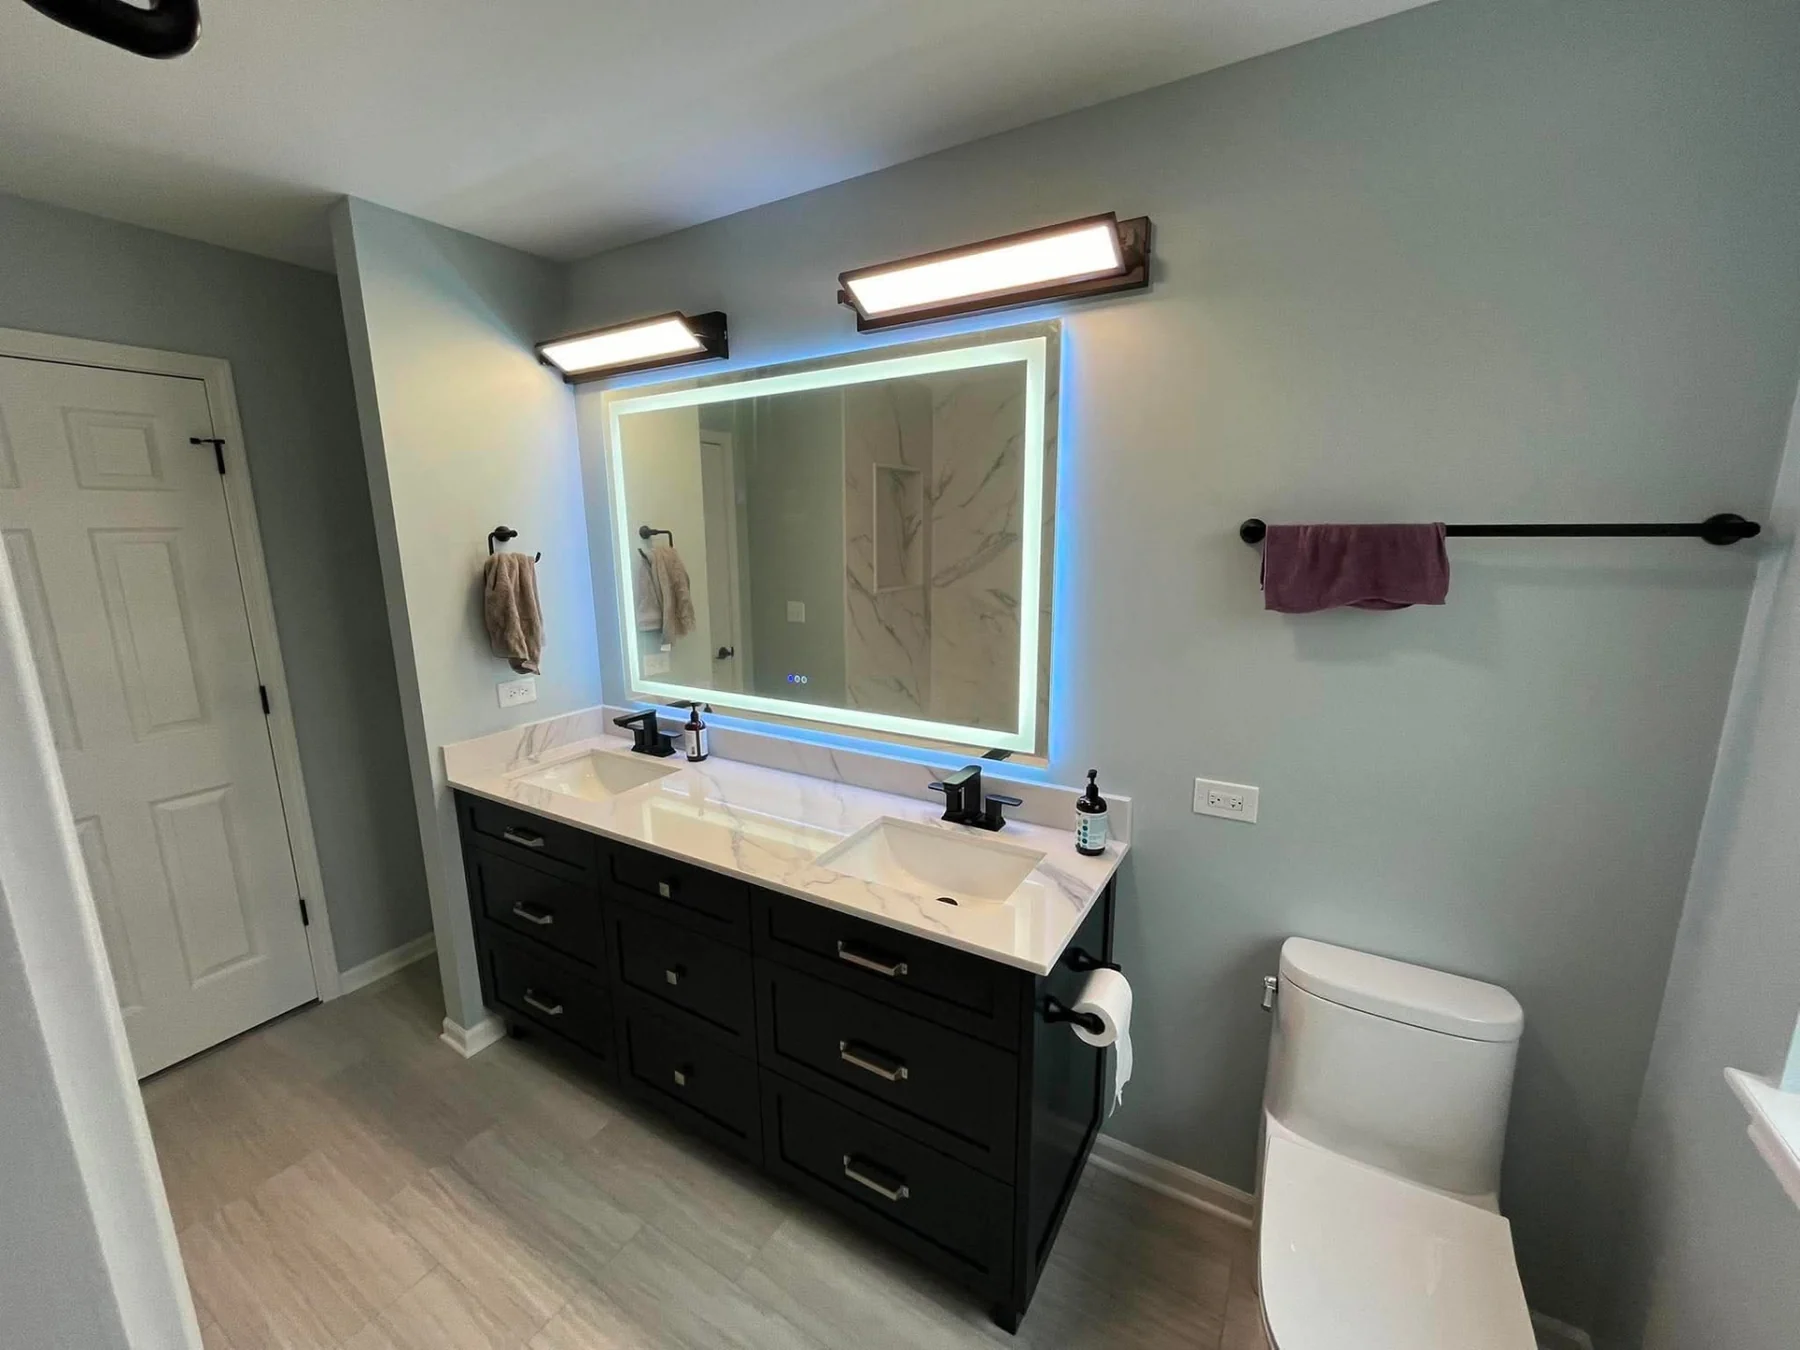 Sample Image — Design Inspiration
Bathroom floor and wall tile carried through 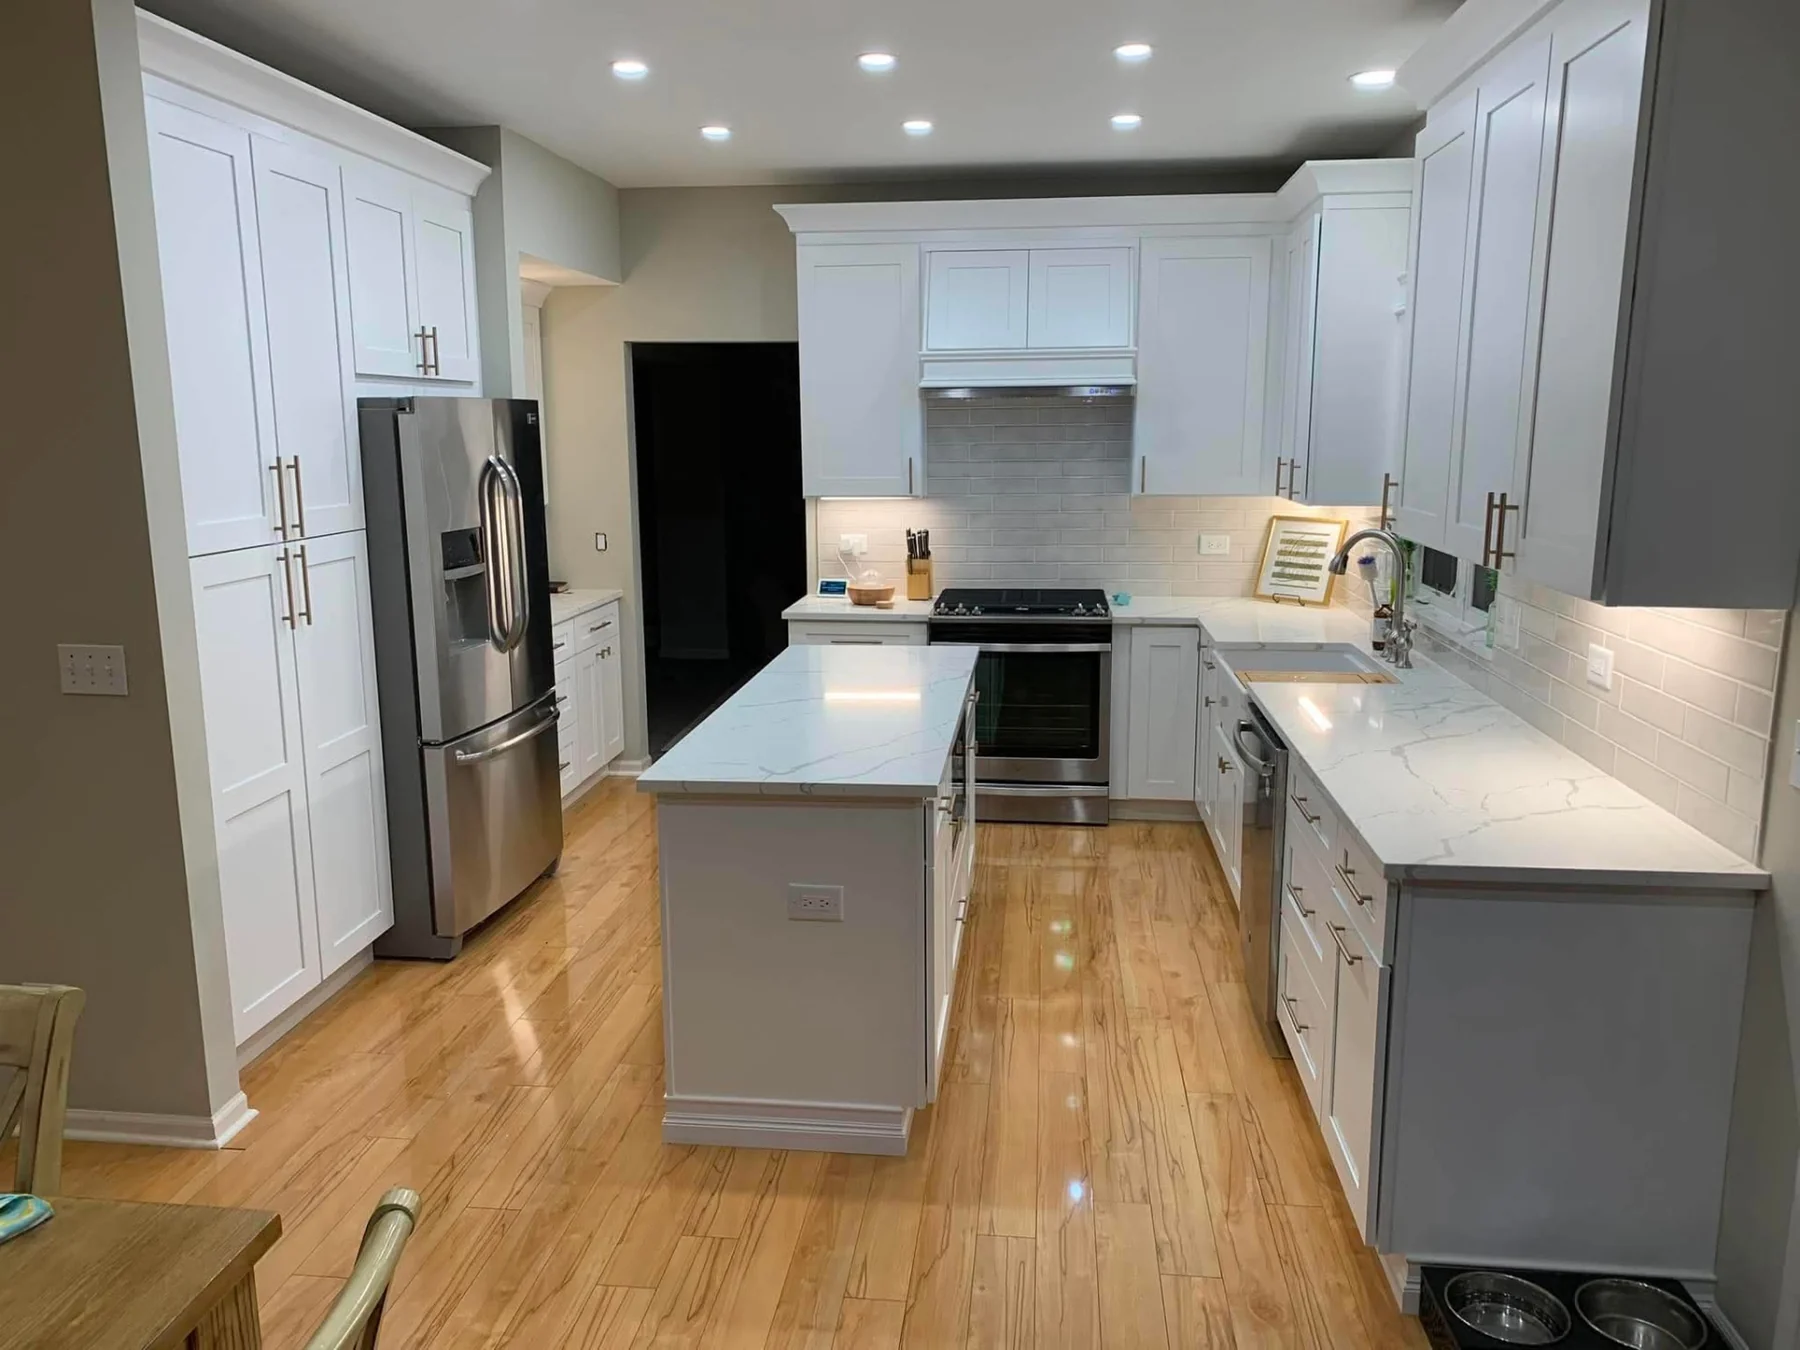 Sample Image — Design Inspiration
Handmade tile backsplash detail
Process
How a tile project runs
The same sequence every time, so you always know what happens next.
01
Walkthrough
We assess existing waterproofing, substrate condition and drainage before proposing a scope.
02
Layout and selections
Tile size, pattern and grout color selected together, with a dry layout reviewed on site.
03
Waterproofing and substrate
Membrane systems, sloped mortar beds and backer board installed and inspected before tile is set.
04
Tile setting
Tile set with full mortar coverage, proper spacing and movement joints, then grouted and sealed.
05
Final walkthrough
Fixtures and hardware installed, edges and caulk lines checked, and care instructions provided for the specific tile and grout.
FAQ
Tile installation questions
Answers to what homeowners ask most before starting.
Why did my old shower leak?
Most shower leaks trace back to a waterproofing membrane that failed or was never installed correctly, not a problem with the tile itself. We rebuild the pan and walls to a tested membrane system before any tile goes up.
Can you install large-format tile without hollow spots?
Yes, with back-buttering in addition to troweling the substrate, which achieves the full mortar coverage large-format tile requires to avoid cracking or drumming.
Do you add movement joints in tile floors?
Yes. Soft joints are placed at perimeters, inside corners and at intervals across large floors so the tile field can expand and contract without cracking.
Can you match existing tile for a repair?
Often, though discontinued lines can be difficult to match exactly. We will tell you honestly if an exact match is not available and discuss alternatives.
How long before I can use a new shower?
Waterproofing and mortar need proper cure time before grouting and sealing, so a new shower typically needs a period of time to cure fully before regular use.
Related services
Work that often pairs with this scope.
Next step
Start your tile project
Tell us about the space and any current leaks or wear. We will follow up to schedule a walkthrough across Minneapolis, Saint Paul and the surrounding metro.