
Residential Service
Painting and Drywall in the Twin Cities
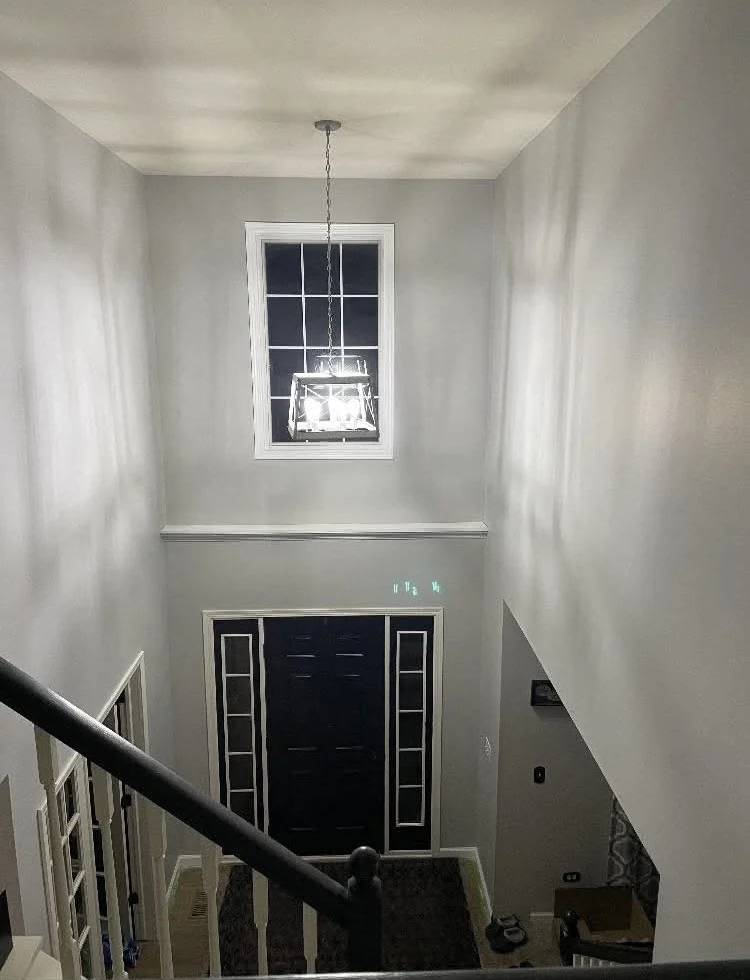
Level-5 drywall finishing and properly prepared surfaces so paint reads flat and even under the raking light of a south-facing window.
Overview
Paint shows every mistake made before it
A wall that looks wavy or a seam that ghosts through a satin finish is almost always a drywall or prep problem, not a paint problem. On new drywall and any wall lit by low-angle daylight, we use a level-5 finish: a full skim coat over the entire surface so joints and screw heads disappear rather than telegraphing through under raking light.
Existing walls get the same discipline before a brush touches them: patching, sanding, spot-priming stains and caulking trim gaps so the finished coat is the last thing you notice, not the surface underneath it.
Prep decides the outcome
Sanding, patching, priming and caulking done fully before the first finish coat, not rushed to hit a schedule.
Level-5 where it matters
Full skim coat on new drywall and light-raked walls so joints and fasteners never telegraph through the paint.
Sheen matched to the room
Flat, eggshell, satin and semi-gloss selected by room use and how the wall will be cleaned and lived with.
Project Types
Painting and drywall projects we take on
From a single accent wall to full-house repainting and new drywall.
Interior repainting
Whole-house or room-by-room repainting with color consultation and full surface preparation.
New drywall installation
Hanging, taping and finishing drywall to a level-5 finish for additions, remodels and basement build-outs.
Drywall repair
Patching holes, water-damage repair and texture matching to blend seamlessly with existing walls.
Trim and ceiling painting
Baseboard, casing and crown detailed with clean cut lines against walls and ceilings.
Cabinet painting and refinishing
Sprayed cabinet finishes with proper degreasing, sanding and primer for durability.
Exterior painting
Siding, trim and soffits prepared and coated with products rated for Minnesota freeze-thaw cycles.
Materials
Materials and finishes
We specify coatings and compounds for how the surface performs over years, not just how the first coat looks.
- Drywall and joint compound
- Standard, moisture-resistant and abuse-resistant board matched to the room, with setting-type and all-purpose compound used in sequence.
- Primers
- Stain-blocking, high-build and drywall primers selected for the substrate and the finish coat going over them.
- Interior paints
- Premium acrylic and hybrid enamel lines in flat, eggshell, satin and semi-gloss sheens.
- Exterior paints and stains
- 100% acrylic exterior coatings rated for UV and freeze-thaw movement in siding and trim.
- Caulk and sealants
- Paintable, flexible caulks for trim, window and door gaps that move seasonally without cracking the paint film.
- Texture materials
- Orange peel, knockdown and smooth-wall texture matched to existing surfaces during repairs.
Design Inspiration
Painting and drywall inspiration
Reference imagery for color, sheen and finish quality. These are inspiration images, not completed client projects.
- Sample Image — Design Inspiration
Smooth level-5 finish under natural light 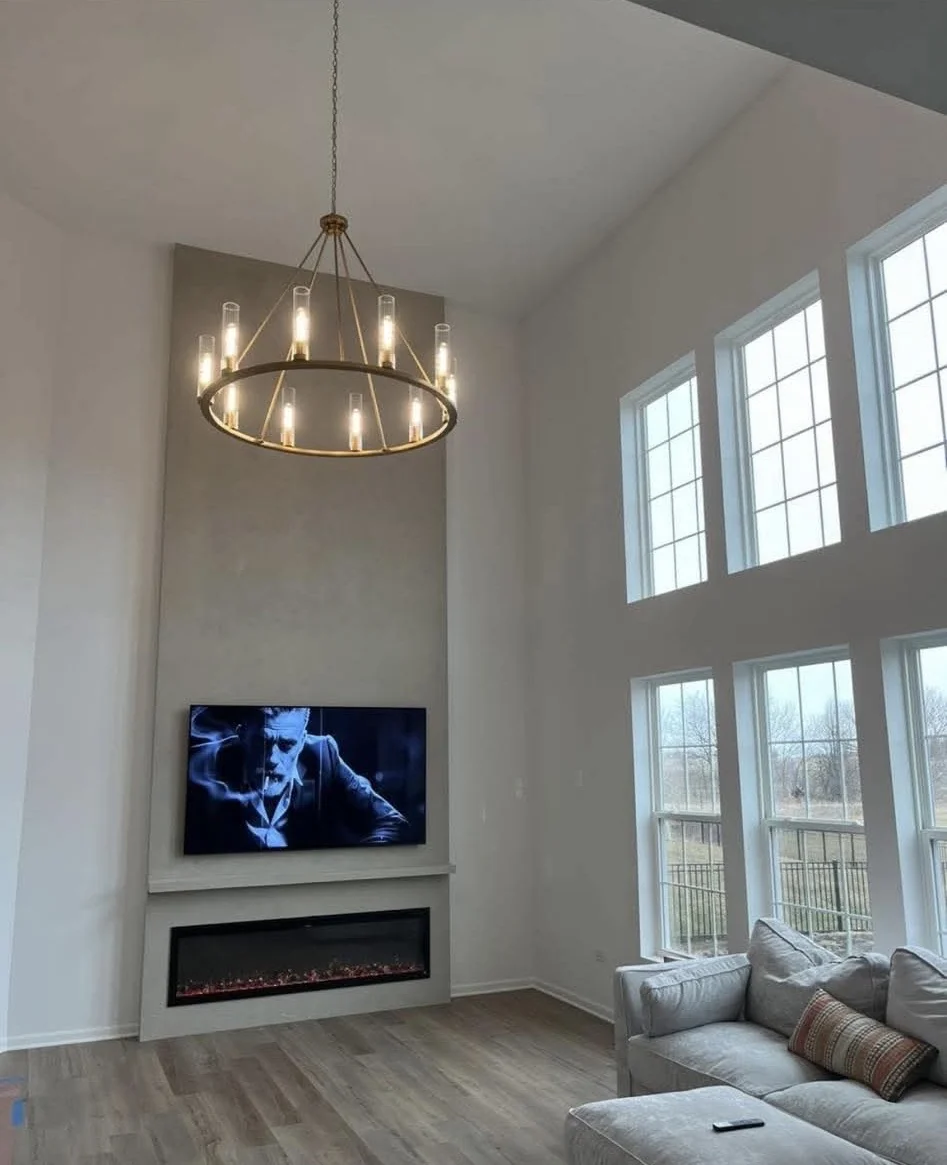 Sample Image — Design Inspiration
Freshly painted living space with crisp trim lines 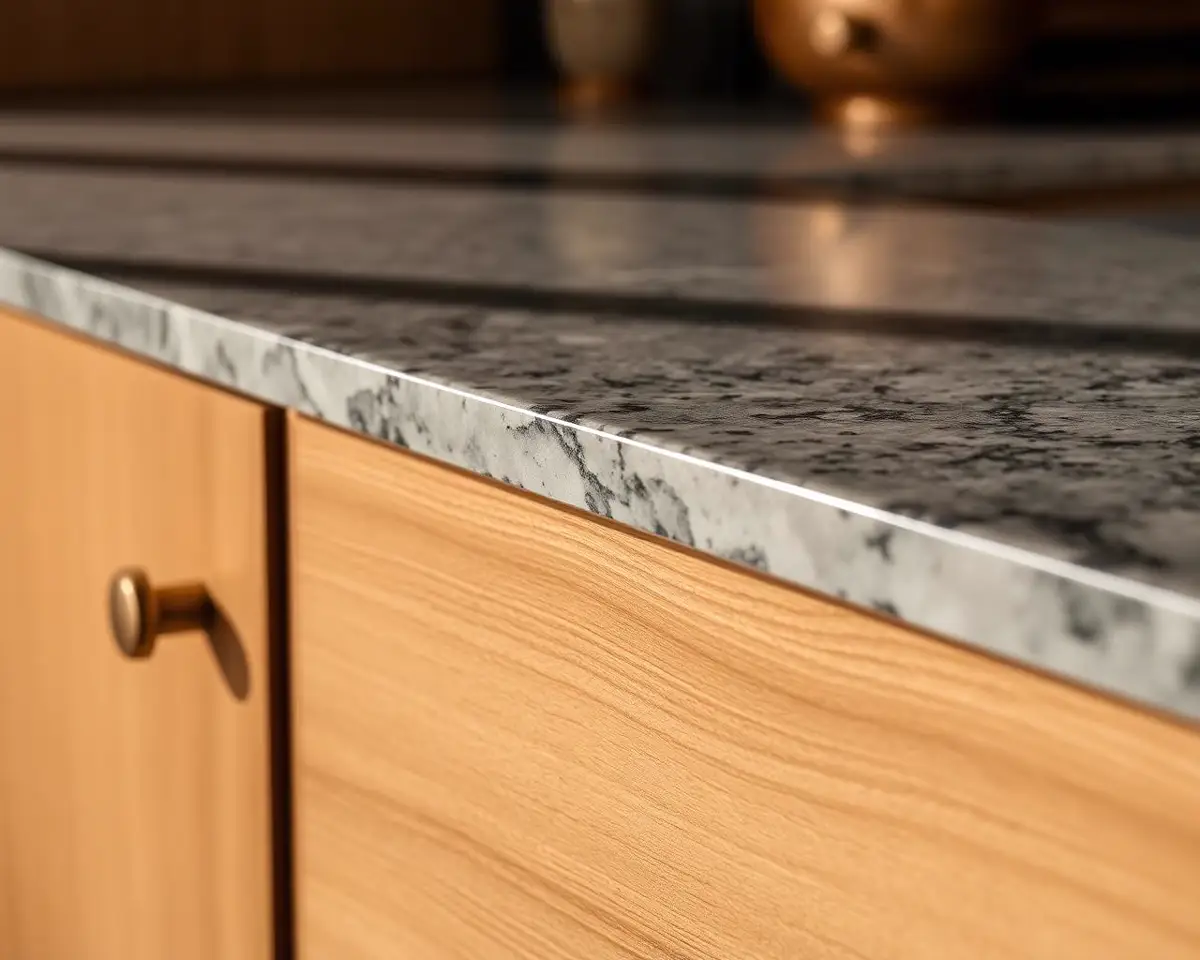 Sample Image — Design Inspiration
Whole-room repaint with matched sheen and color
Process
How a painting or drywall project runs
The same sequence every time, so you always know what happens next.
01
Walkthrough
We assess existing surfaces, note repairs needed and discuss color and sheen direction.
02
Color and sheen selection
Samples applied on your actual walls so you see the color in your own light before committing.
03
Surface preparation
Patching, sanding, priming and caulking completed and inspected before any finish coat goes on.
04
Application
Finish coats applied with proper dry time between coats, and drywall skim-coated to level-5 where specified.
05
Final walkthrough
Cut lines, coverage and sheen checked room by room, with touch-ups completed before we call it done.
FAQ
Painting and drywall questions
Answers to what homeowners ask most before starting.
What is a level-5 drywall finish?
A level-5 finish adds a thin skim coat of joint compound over the entire wall surface, not just the seams, so joints and fastener heads don't telegraph through paint, especially under raking light from windows.
Do I need level-5 finish everywhere?
Not everywhere. It matters most on new drywall and walls lit at a low angle by large windows or skylights, where a standard level-4 finish can show shadowing once painted.
Can you match my existing wall texture during a repair?
In most cases yes. We identify the existing texture pattern and technique and match it as closely as possible before priming and painting over the repair.
How long between coats of paint?
It depends on the product and humidity, but we follow manufacturer-specified dry times between coats so the finish cures properly rather than trapping moisture or showing lap marks.
Will exterior paint hold up through Minnesota winters?
We use 100% acrylic exterior coatings designed for the expansion and contraction of siding and trim through freeze-thaw cycles, and prep bare wood and metal fully before coating.
Related services
Work that often pairs with this scope.
Next step
Start your painting project
Tell us about the rooms or exterior surfaces involved. We will follow up to schedule a walkthrough across Minneapolis, Saint Paul and the surrounding metro.